Finishing Touches: Pro Tricks for Installing Fixtures in Your Tile
http://www.decor-ideas.org 07/22/2013 17:25 Decor Ideas
A shower's tile layout can depend on how your fixtures and lights meet the tile. Ideally, fixtures are installed centered on a tile instead of on a grout joint. However, this involves cutting the tile, which can be a detailed and fussy process. Sometimes the holes end up in bad locations on the tile layout, and sometimes the tile can break.
The following steps can help shorten and simplify the process. Cutting holes in tile doesn't have to be difficult — there's just a different technique, drill bit and blade for every type of material. Whether you're working with a tile setter or attempting a small-scale tile project of your own, knowing the ins and outs of this process can help you get the best possible result.
Larger shower trims (plumbing fixture cover plates) are much easier for tile installers to work with. The larger trim has more wiggle room and doesn't require a tiny tile cut.
Tip: Cutting out a small square or rectangle can be simpler than drilling a large hole into tile. Ask your tile installer to check your trims to see if a small square cut will work.
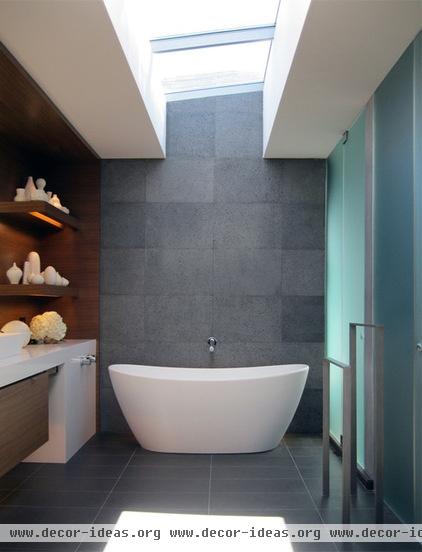
What a great tile layout — it looks like no drilling was needed. I love how the tub filler comes out of the center of four tiles.
Often the trim for plumbing fixtures covers a large area. For an installation like this, it may be easier (and safer for the tile) for an installer to clip each tile corner at a 45-degree angle rather than drill one-quarter of a hole into each tile corner.
Tip: You'll want your installer to take note of any seal gaskets (the washer that prevents water from getting behind the trim) and plan your cut so the gasket is properly supported by the tile.
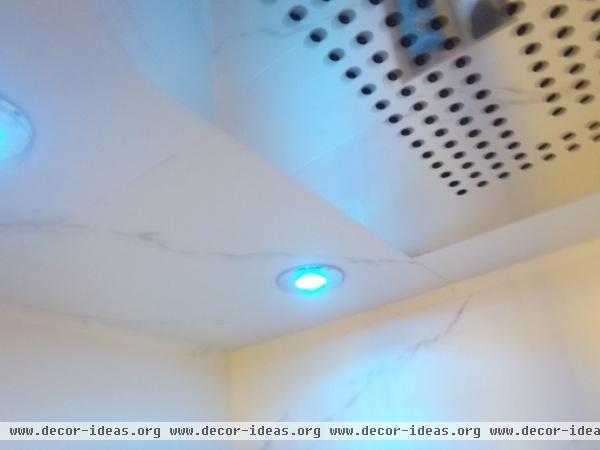
Ceiling spaces can get cramped, so positioning everything just right is important. This shower's steam generator and lights have the perfect position. Since the lights fall in the center of the tile, a grout joint won't weaken their vapor-tight seal.
Tip: Plan these lighting locations early so you can make sure there is no ceiling framing in the way of where you want your new showerhead or light fixture. We built this ceiling's framing to specifically accommodate the large rainhead and four LED pool lights.
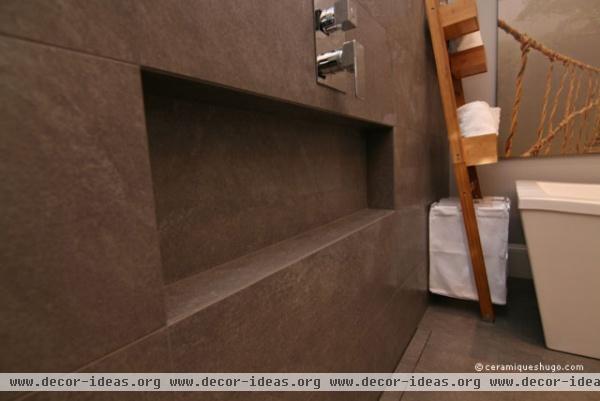
This is one of my favorite bathrooms ever. The oversize tile is installed flawlessly. The tile for the shower controls was drilled for the plumbing fixture and mitered along the long edge (the bottom of the tile) to meet the tile on the top of the niche. So much effort for just one tile, but this look is worth it.
Tip: Ask your installer to put in the tiles on your key focal points first to make sure you get the exact look you want.
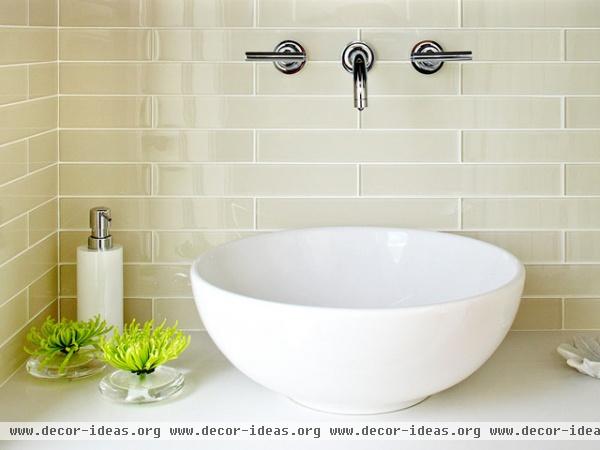
This clever tile layout didn't need any drilling — every fixture hole is set over a grout joint. This tends to be the easiest approach for sink fixture installations like this, since you need to make only a semicircle cut in each tile. This can be done with a blade, rather than a drill.
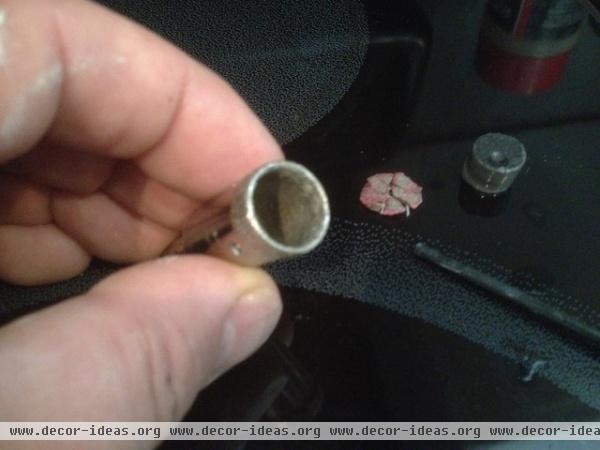
Diamond Coring Bit - CAD 40.00 » This is my favorite type of drill bit. These diamond coring bits cost about $40 where I live.
High-speed drills can destroy these bits, so I prefer using a low-speed cordless drill or a variable-speed corded drill for slow drilling.
Tip: For holes smaller than ¼ inch, glass and tile bits usually work best. I try to keep two or three on hand for the smaller items in a bathroom, like toilet paper holders and shower bars. These bits work well for most ceramic and porcelain tiles, but I avoid using them on stones like slate.
When you or your installer drills tile, make sure there's a small bucket of cold water nearby to cool the bit often. If the water in the cuts starts to boil, the bit hasn't been cooled often enough. If a diamond bit gets too hot, the diamonds will fall off the drill bit and make it worthless.
Tip: Drill especially slowly and stop constantly to cool the drill bit when drilling glass tile or any tile. Glass cracks easily if it gets too hot, and the risk is high when you're drilling into it.
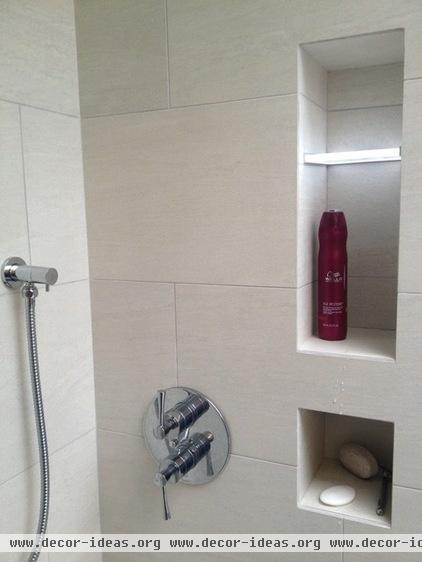
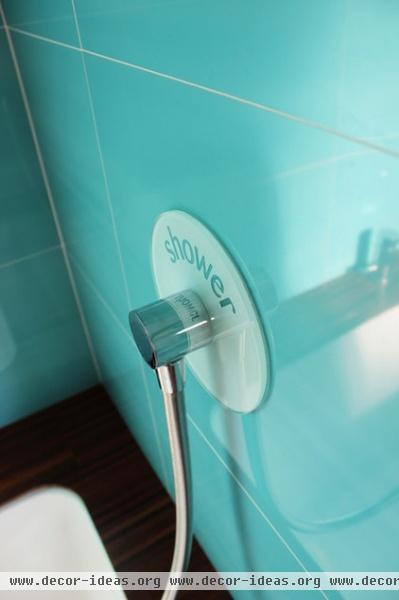
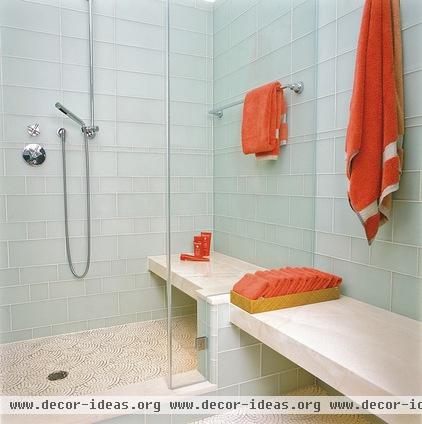
The tile pro who tiled this shower drilled a perfect hole for the shower hose. These holes are drilled very close to the edge of the tile, which is hard to get right.
Tip: When drilling holes so close to the edge of the tile, make sure that the tile is protected from vibration damage. Fully support the tile while drilling and press down to keep the tile from vibrating.
More:
How to Choose Tile for a Steam Shower
14 Power Tools for the Home Shop
Related Articles Recommended
Related Images Recommend