Neat Little Project: Create a Simple Entry Bench
http://www.decor-ideas.org 07/22/2013 09:05 Decor Ideas
It can be said that you can never have enough places to sit. A little bench like this one can be used in a number of places around the home, both indoors and out. Keep it natural, as shown here, or add any number of finishes. It has a slight country look, so an antiqued and distressed finish would work well.
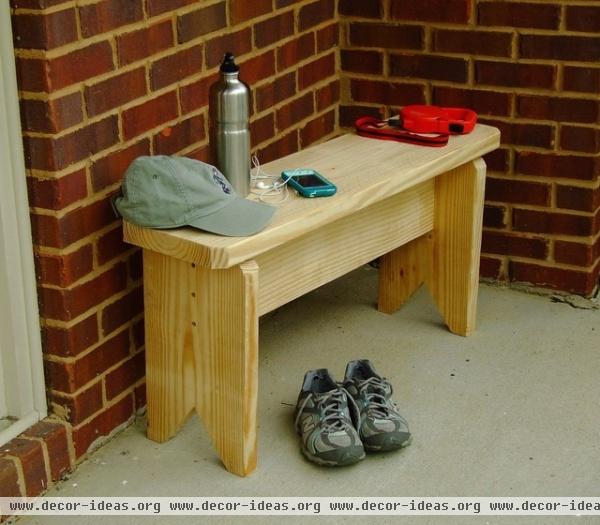
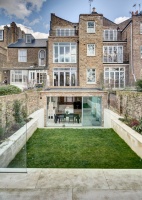
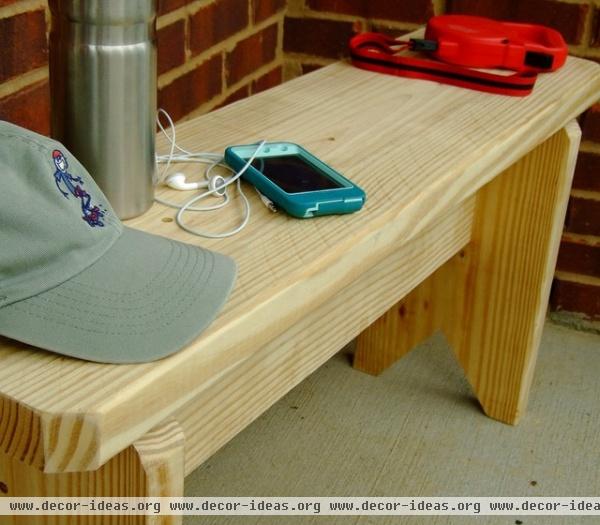
Measuring 36 inches long, 9¼ inches deep and 17½ inches high, this bench can fit in a number of small spaces that may be lacking in seating or decor. Here it's placed beside a front door and serves as a staging area for walking gear as well as a seat for putting on athletic shoes.
Tools
At the minimum you'll need a handsaw for cutting the boards, the miters on the ends of the boards and the little notch in the background here.
You'll get better (and faster results) if you have a miter saw and a jigsaw. Make sure you've got your drill and a ⅛-inch drill bit as well. A pair of 36-inch clamps also will come in handy during assembly, and a combination square will make marking cuts and pilot holes easier.
Materials2-by-8-by-8 board2-by-10-by-8 board 2½-inch deck screws (13)I used pine, but if you plan to place the bench outdoors in an uncovered area, be sure to use cedar, redwood or treated lumber.
Pick up a box of 2½-inch deck screws unless you have enough in your supplies already.
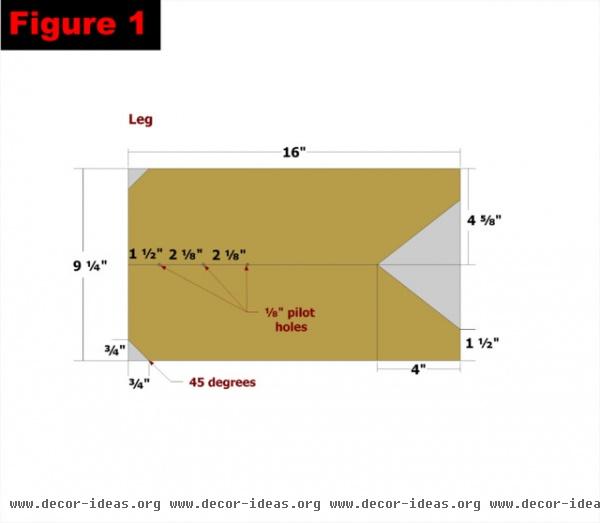
Create the Legs
Use Figure 1 as a guide for creating the legs, which are cut from the 2-by-10. You can cut the 45-degree corners with a handsaw, miter saw or jigsaw. The notch can be cut with a handsaw, but it will be much easier with a jigsaw.
Drill ⅛-inch pilot holes as shown.

Create the Rail
Figure 2 shows the dimensions for the rail, which is cut from the 2-by-8. You'll have a lot of extra lumber left over from the 2-by-8, so you may want to think about some other projects you can make with the remaining board.
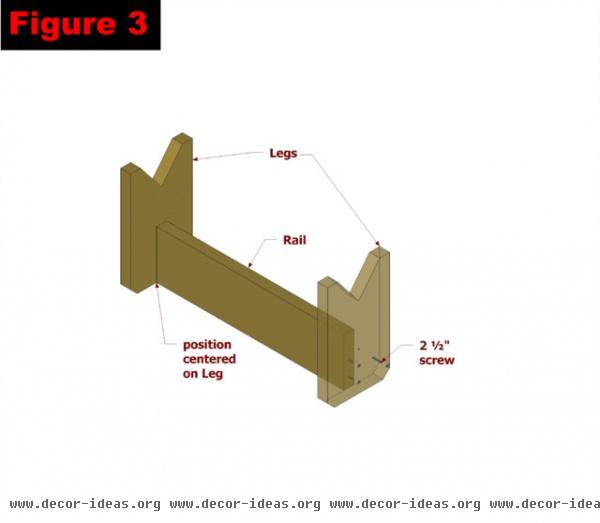
Attach the Rail
Position the rail centered on the ends of the legs without the notches as shown in Figure 3. Drive the screws through the pilot holes in the legs and into the rail. This will be much easier if you have a set of 36-inch clamps to hold the parts in place.

Create the Seat
Use Figure 4 as a guide for making the seat. Drill ⅛-inch pilot holes as shown. It is very important to mark and drill the pilot holes precisely for the assembly to line up properly in the next step.
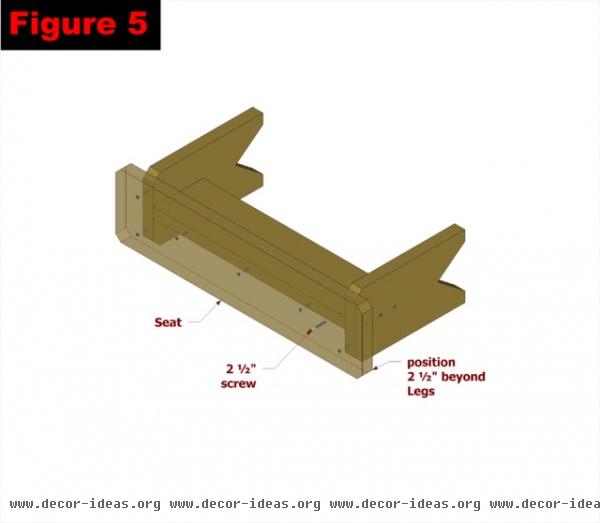
Attach the Seat
Position the seat as shown in Figure 5 so that it overhangs the legs by 2½ inches. By placing the assembly on its side as shown, you won't have to worry about the edges of the seat being flush with the edges of the legs as long as the assembly is on a flat work surface.
Clamping the assembly together will make it easier to drive the 2½-inch screws through the seat and into the rail and legs.
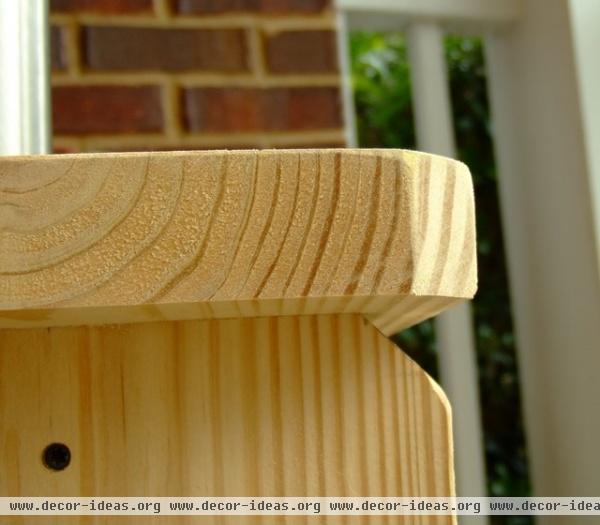
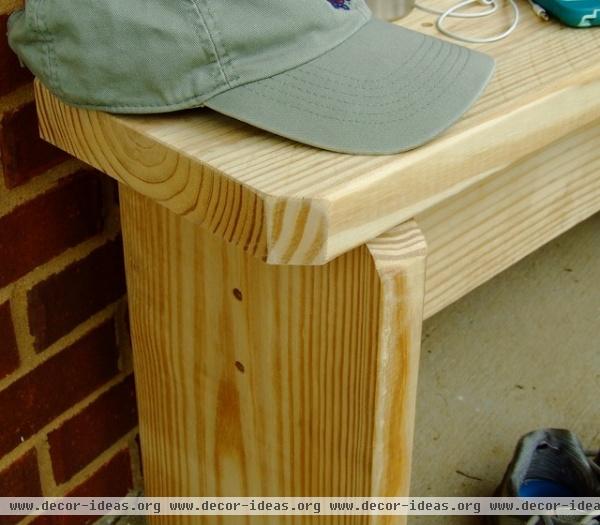
The small mitered corners on this bench give it a distinct look and make it look like it took more effort and skill to complete. Be sure to sand these corners and any rough edges.
You can increase the length of the bench to accommodate more people or fill a larger space as needed. Simply increase the length of the rail and the seat, and keep the legs the same. If you make sure the seat is 8 inches longer than the rail, you can use this same plan as a guide.
More: How to Mimic Stain With a DIY Color Wash
Related Articles Recommended
Related Images Recommend