Beadboard Panels Offer a Shortcut to a Classic Style
http://www.decor-ideas.org 07/22/2013 00:30 Decor Ideas
Beadboard wainscoting has a classic look that never goes out of style. Traditional tongue and groove beadboard can be a serious chore to install, but you can get a similar look with beaded hardboard planks, and the process is relatively easy.
Beaded hardboard paneling is an engineered wood product, usually made from MDF (medium density fiberboard) or a more ecofriendly hardboard, and comes in a number of finishes. My family and I gave these panels a shot in our small bathroom for a classic decorative finish that will protect our bathroom walls from wear and tear.
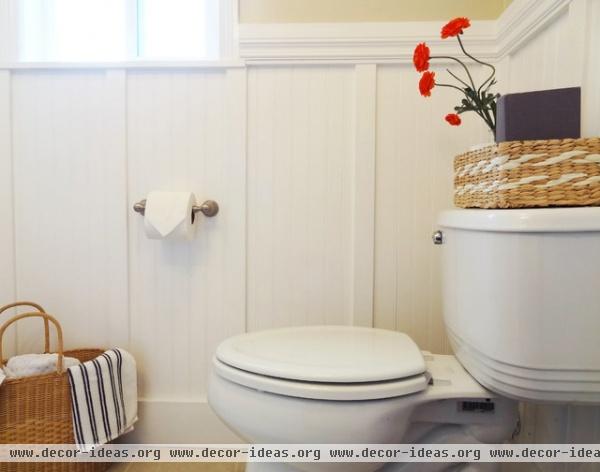
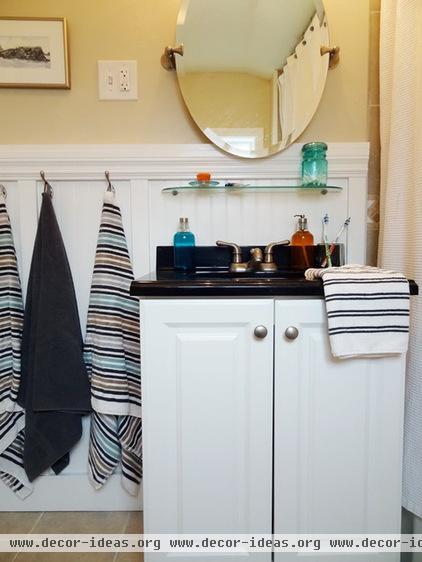
We chose Georgia-Pacific's True Bead ready-to-paint 4-by-8 foot panels. You can also find beadboard kits that include paneling, baseboard and chair rail trim, but we made a custom beadboard/board and batten treatment using primed wood, MDF and casing.
Note: Feel free to substitute any all-wood material for MDF. Wood generally holds up better in a damp environment like a bathroom, although we've never noticed any issues with our MDF.
Tools and materials:
• Beadboard MDF paneling (comes in 8-foot-wide sheets)
• Level and measuring tape
• Chalk line
• Construction adhesive (such as Liquid Nails)
• 1½-inch finishing nails or brad nails
• Hammer or finishing nail gun
• Nail set
• Jigsaw
• Handsaw, table saw or circular saw
• Miter saw or miter box/hand saw
• 1- by 6-inch primed whitewood
• 11/16-inch by 3½-inch MDF (used for backer board)
• 1- by 2-inch primed whitewood
• 9/16- by 2½-inch MDF (used for battens)
• 3-inch decorative fiberboard casing
• Paintable caulk (like Dap 3.0) and a caulking gun
• Semigloss interior paint
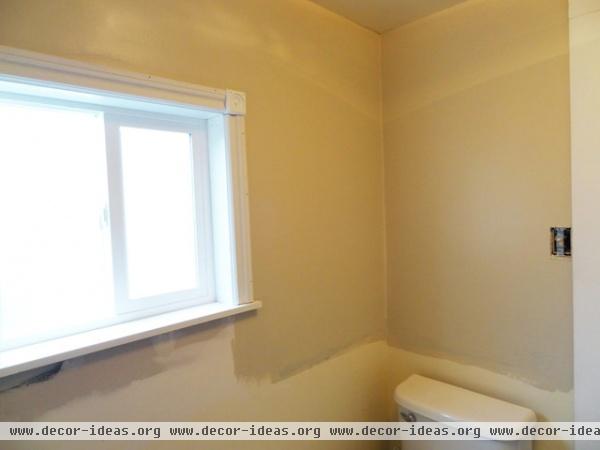
Ready the room for installation by carefully removing all baseboard trim so it can be reused. Remove all outlet and switch covers and hardware from the walls. Remove the toilet if necessary. Leave any window trim.
If you want to update the wall paint, do that prior to installation. Paint the wall down to a few inches lower than the beadboard's finished height.
When choosing your panels, pay proper attention to the condition of each panel and read the manufacturer's instructions on the back of the panel for proper installation.
Note: As with all wood products, changes in humidity and temperature can cause hardboard paneling to expand and contract slightly. Prior to installation, stand the panels on long edges in the room for at least 48 hours so they can adjust to the existing room conditions.
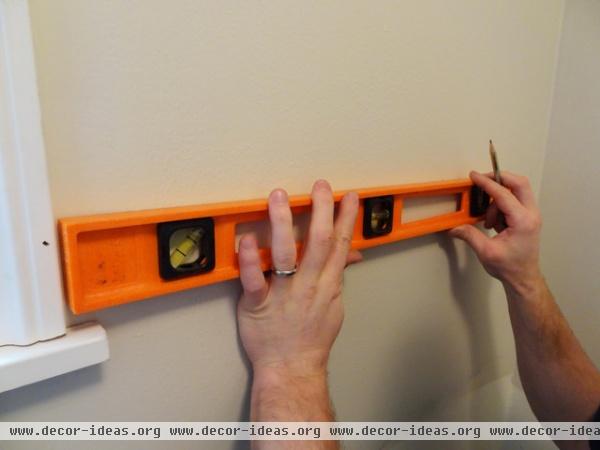
Measure from the floor to your desired height (beadboard is generally installed 33 to 48 inches high) and add
⅛ inch to the height to allow for thermal expansion. Mark your height and use a level and pencil or a chalk line to mark a level line.
Cut your panels to height using a handsaw, table saw or circular saw. Cut the panels face up if using a handsaw and face down if using power tools. Make a detailed guide for any cutouts, allowing for a 3/16-inch gap around window trim and a 1/16-inch gap when joining pieces. Use a jigsaw to cut holes for outlets or detailed cuts, such as around windows. Be sure to follow the spacing pattern of the beads in the beadboard paneling when joining two pieces together.
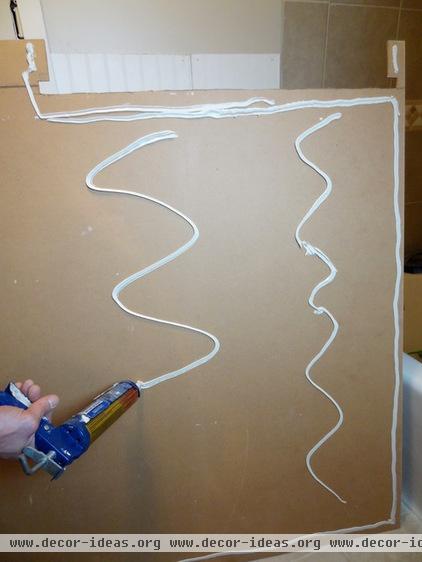
Dry fit the paneling to the wall first and make any adjustments as necessary. Then apply construction adhesive to the back of the panel about 1 inch around the outside edge and in a squiggly line pattern in the center. Set the panel in place and use shims to ensure that the panel is level.
Tip: For cuts around outlets, draw around the outlet with chalk or pencil. Place the back side of the panel against the wall and against the outlet. The chalk outline will transfer to the back of the panel, leaving you a guide for your cutout.
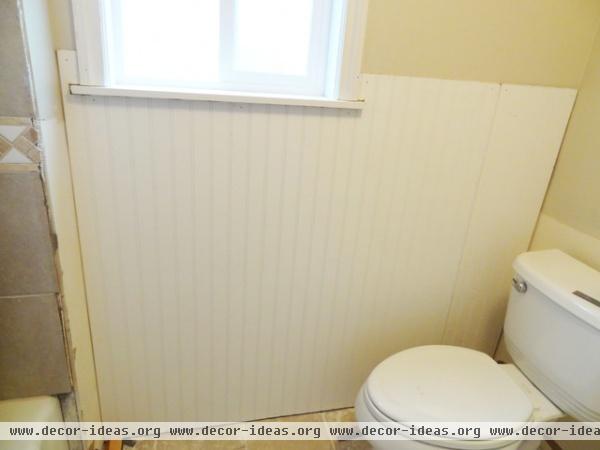
Firmly press the paneling against the wall. While the glue is drying, secure the paneling in place with a few nails. I prefer to use a finishing nail gun for quick and easy nailing. If you're using a hammer, drill pilot holes for the finishing nails using a 1/16-inch drill bit first, to avoid damaging the board.
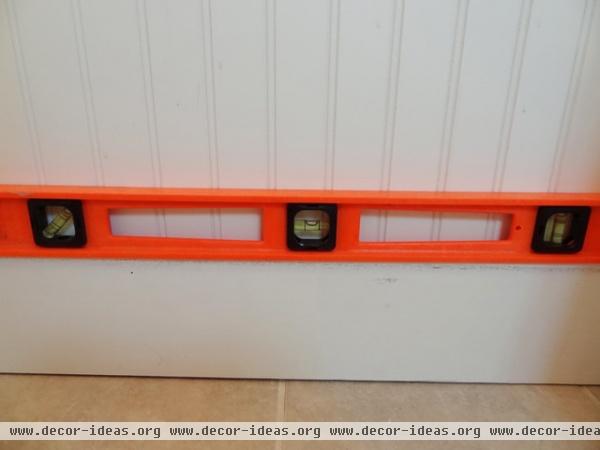
Once the paneling is in place, finish it with trim. Attach the 5½-inch baseboard. Use a level and shims to make sure the board is level. Use a nailing gun or hammer and nails to secure the baseboard into place.
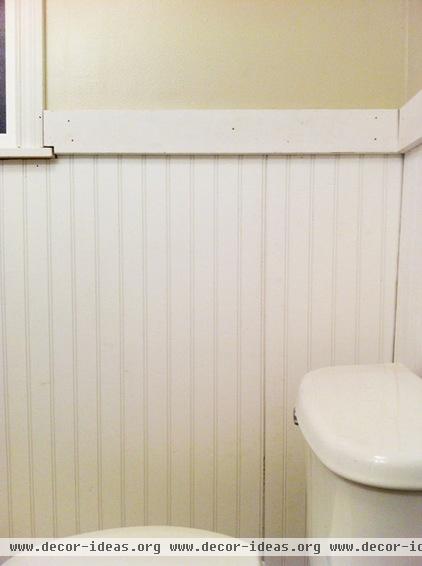
Next attach the backer board to the top of the beadboard, once again making sure the board is level. For corners use a miter saw or miter box to cut 45-degree angles on the ends that meet in the corner. You can also use the miter saw or box for a more finished look on the ends.
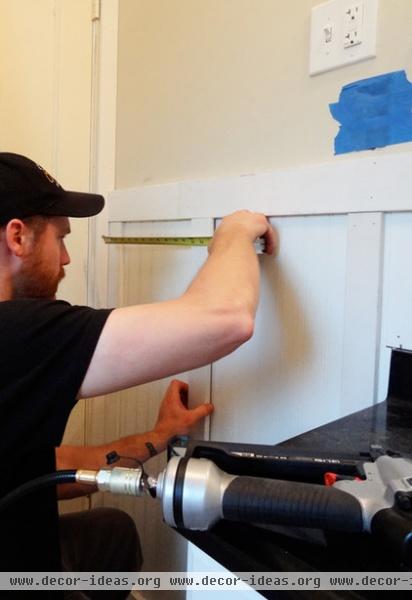
Install the vertical battens. The spacing of the battens is up to personal preference, but we placed ours about 13 inches apart.
Tip: It's more important to make sure the battens run parallel with the beads in the beadboard than that they are plumb. If you're lucky and your walls are straight and level, you should be able to achieve both.
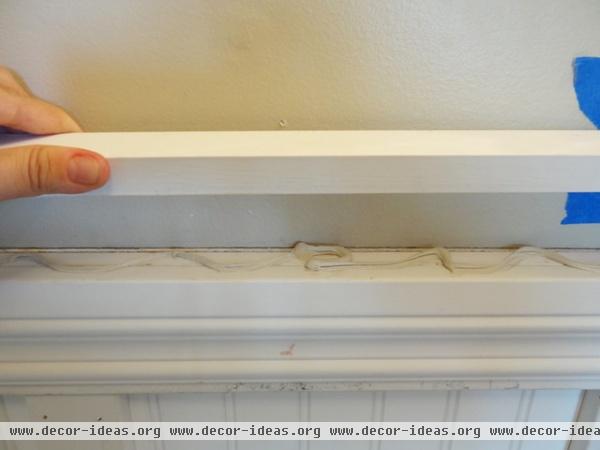
Nail the casing to the backer board, making sure the casing is flush with the top of the backer. Rather than nailing into the top of the MDF trim, which can cause splitting, apply construction adhesive to secure the remaining trim piece into place.
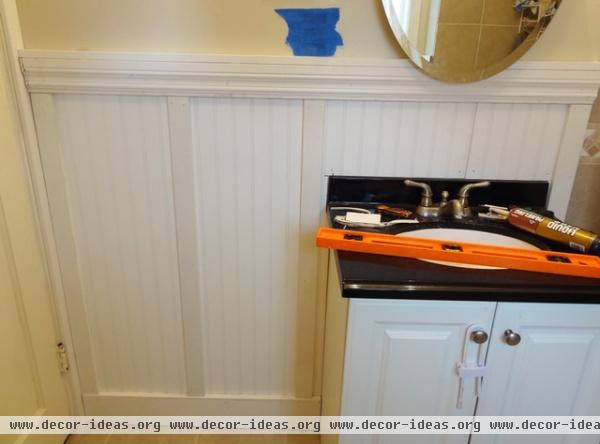
With the beadboard and trim in place, the wall treatment is ready for any finishing touches.
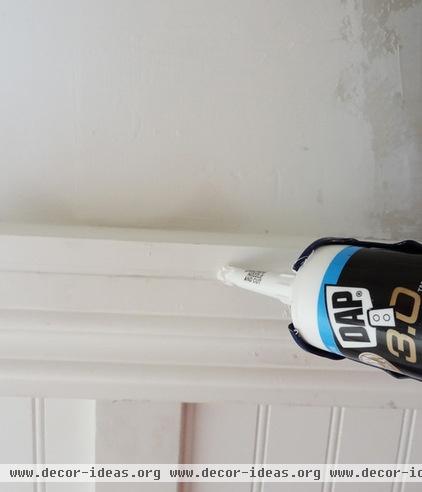
Apply white paintable sealant to any nail holes, gaps or places where trim meets trim. After the sealant has dried, paint with easy-to-clean semigloss paint.
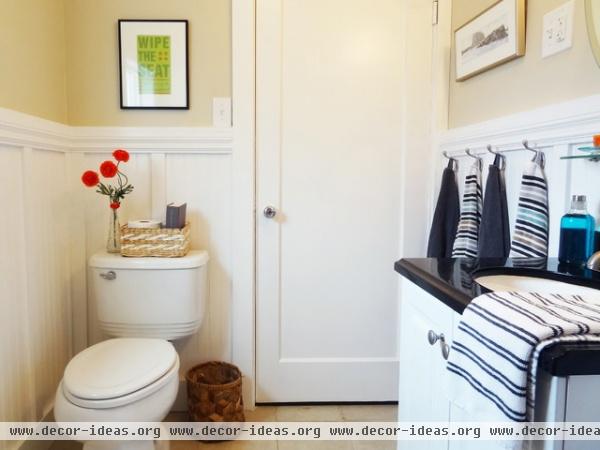
This updated take on the classic beadboard wall treatment was the perfect update to give our small cottage bathroom some character that fits our home's style.
Related Articles Recommended


